The instructions below will demonstrate how to perform real-time tuning for podcasts and radio stations with the SonicCloud Mobile App (when not wearing hearing aids).
Note: If you'd like some additional help with your advanced turning, schedule a complimentary, Live Expert Tuning session with a SonicCloud Expert to help you get the best results by contacting us at support@soniccloud.com. If you'd rather tune on your own, follow the directions below.
We recommend using earbuds or headphones during tuning.
1. Tap the icon to open SonicCloud.

2. This brings you to the Landing Page (Streaming Page).

3. Swipe and scroll or "Browse" until you find something you like.
4. I've selected "WYPR".
5. Tap "Personalize Sound" to begin making adjustments.
6. Find a comfortable listening level, using your phone's physical volume control, regardless of clarity.
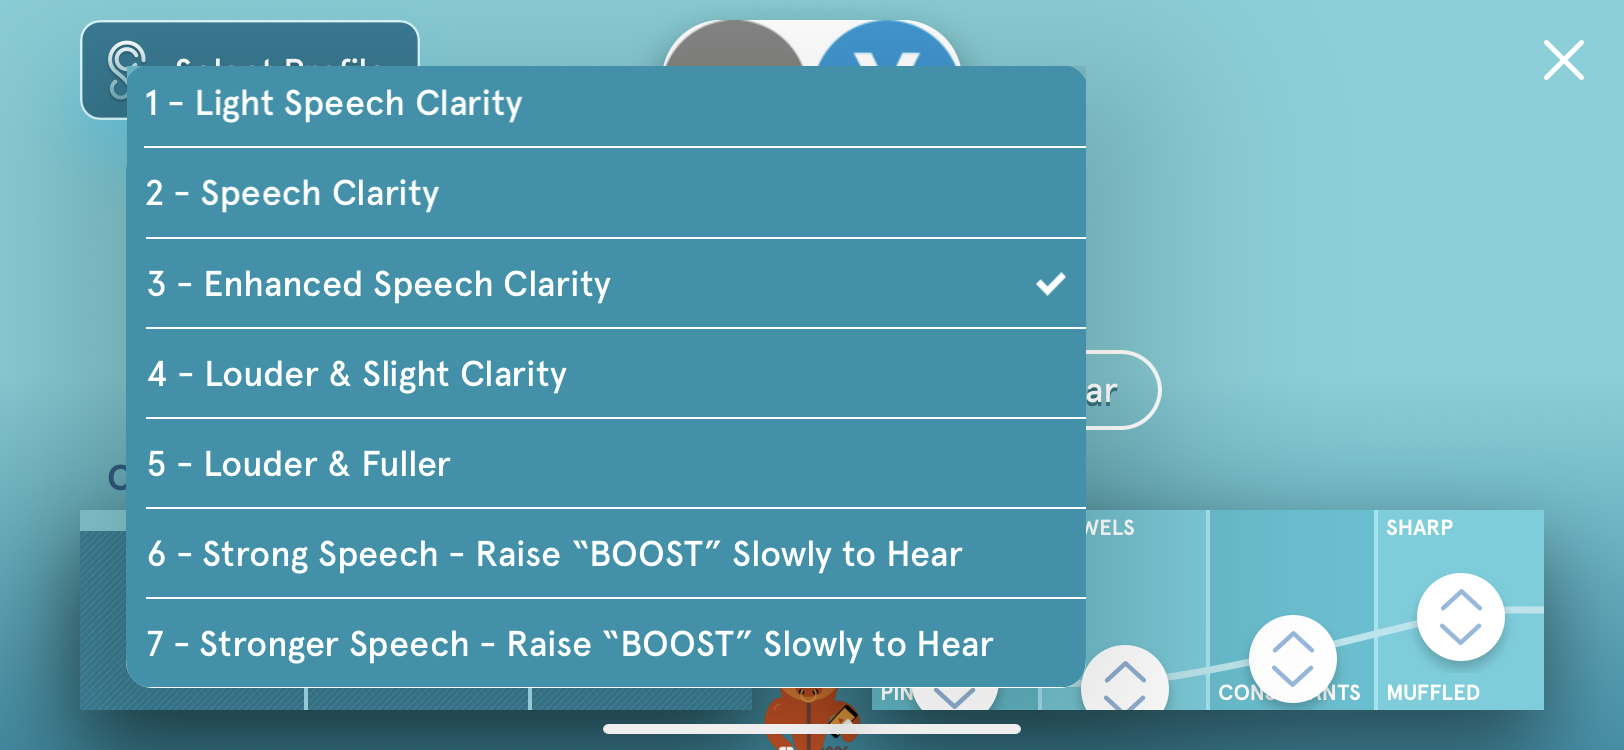
7. Tap "Select Profile" to bring up a list of the available Hearing Profiles.
8. Overall Strategy for Tuning:
Try the below profiles in ascending order from 1 to 7.

If the profile is CLEAR enough but NOT LOUD enough raise BOOST.
If the profile is loud enough (comfortable) but not CRYSTAL CLEAR enough, raise SHARP and THEN CONSONANTS.
AFTER you get the clarity you like and a comfortable overall volume level you can modify RICH (richness) in order to bring back some of the naturalism to the sound.
(If you've already taken the Hearing Test, you may choose to use the associated Hearing Profile instead.)
9. Detailed Steps for Tuning:
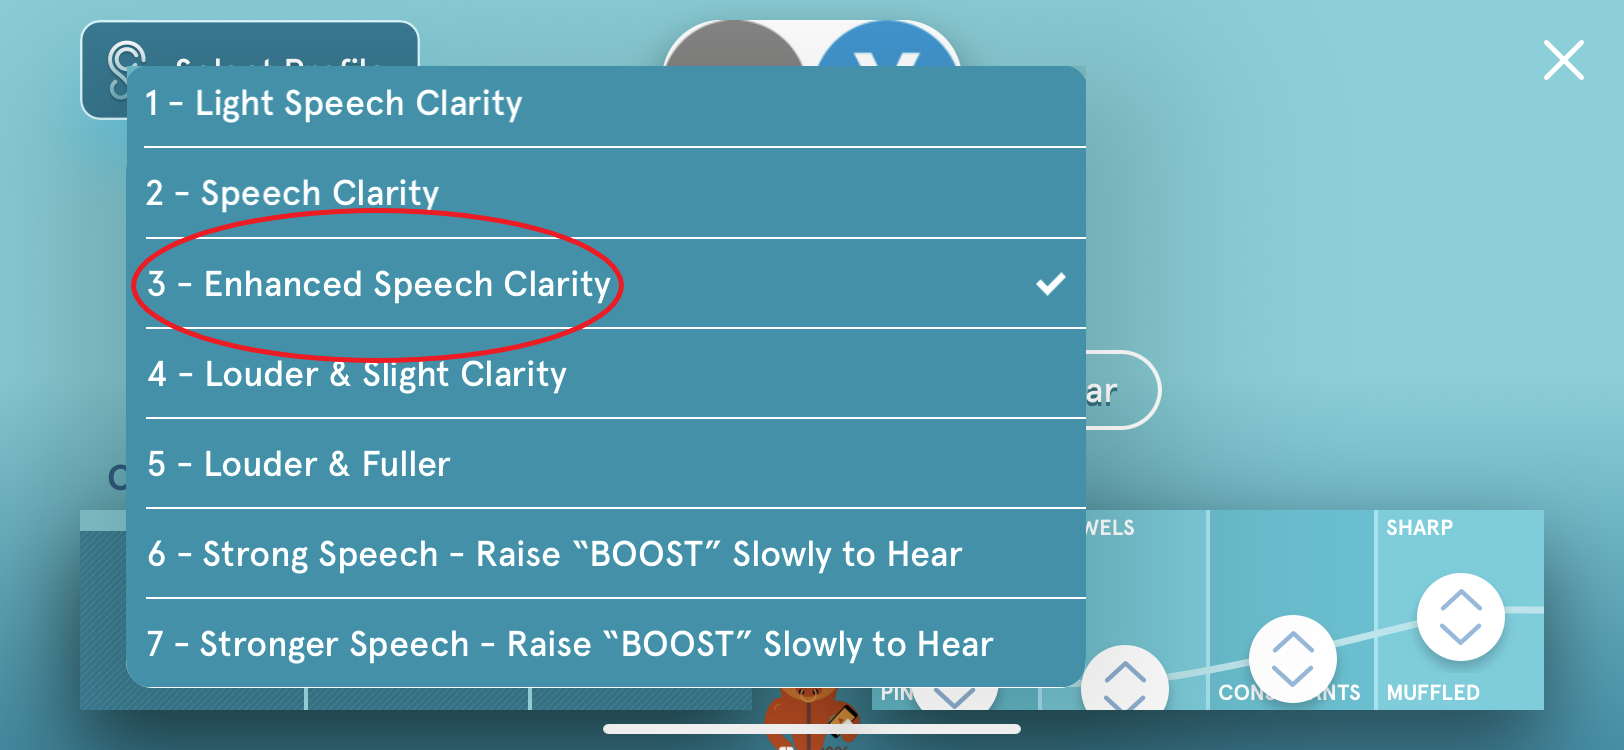
Starting at Profile "1 - Light Speech Clarity", listen to content. Work your way up the profiles until you hear something you like. In this example case, let's say we liked "3 - Enhanced Speech Clarity."

10. This may be in the ballpark, but you may like it to be a bit clearer.
11. To make it clearer, start by adjusting "SHARP" / "MUFFLED". Slide the slider up or down with your finger to make adjustments.
12. Try making a slight adjustment to add a bit of clarity - this should help with speech understanding.

13. Is that clear enough? If yes, great. If you’d like more clarity, raise the “SHARP” slider more.

14. If you increase it too much and it sounds too shrill, bring it down a little.

15. Once you’ve raised the “SHARP” slider to a level you like for understanding speech, you may find the overall sound quality to be a bit “tinny.” If so, raise the “RICH” / "PINCHED" slider to restore a “naturalistic” quality to the sound.

16. Now that you have strong anchors for clarity and naturalism, try some nuanced tuning. Adjust "CONSONANTS" first.

17. Then adjust "VOWELS".

18. You can also “open up” the sound by raising “FULLNESS.” “BOOST” adds a volume kick, and “COMFORT” affects the strength of the original, "source" audio, all on the left.

19. If you wish, save any profile for use in the future by pressing the “Save” button.

20. A window will pop up asking you to name the new profile. Type a name.
21. Then tap"OK".
22. If you are still making adjustments, tap "KEEP TUNING". Otherwise, tap "I'M DONE" and you will be returned to the podcast you were listening to.
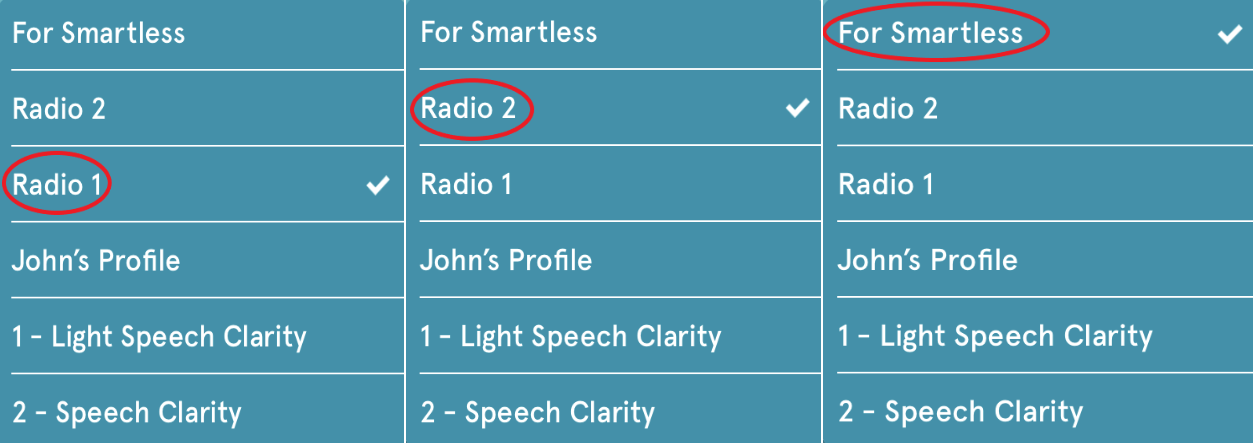
23. Next time you go to listen to a podcast, make sure to select your refined profile from the list.
Remember—You can save multiple hearing profiles on the fly and toggle between them just like in the Optometrist’s office (Is this better? Or is that better?) in order to zero in on your favorite profile that gets you the most crystal clear speech understanding!

***TO LEARN HOW TO DELETE EXTRA PROFILES CREATED DURING TUNING, CLICK HERE!
Comments
0 comments
Article is closed for comments.